Introduction
Having done high altitude trekking for awhile, I thought it would be helpful to attend a short mountaineering course to get formal instruction on snow and ice travel and safety in the mountains.
I searched online and found a private company (above14000ft.com) in Manali that offered a short basic mountaineering course that taught the fundamentals of technical climbing on snow and ice, along with safety.
Although billed as a 15 day course, getting to the training area and back took 2.5 days, technical training was for 6.5 days, 3 days was reserved for the height gain exercise and the remaining days were occupied in getting to, gearing up, and departing Manali.
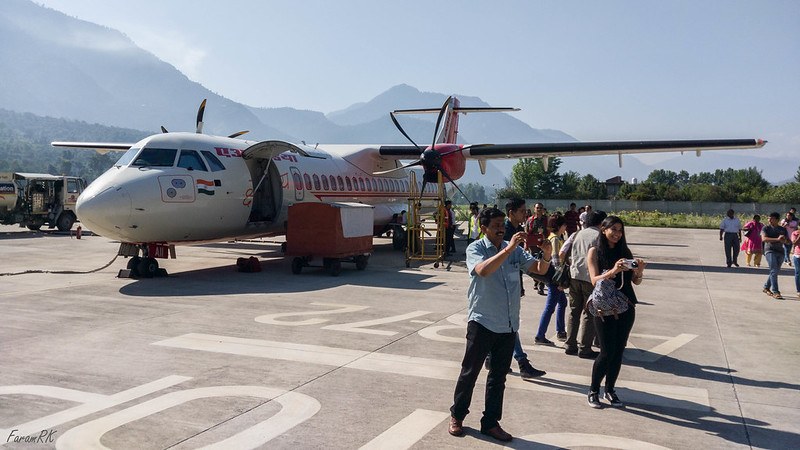
I flew on the morning flight from Delhi to Kullu-Manali (VIBR) airport on an Air India ATR 72-600 aircraft. You can read about the approach here.
The airport is located at Bhuntar, which is 51 km south of Manali. From Bhuntar, I took a shared cab to my hostel in Old Manali.
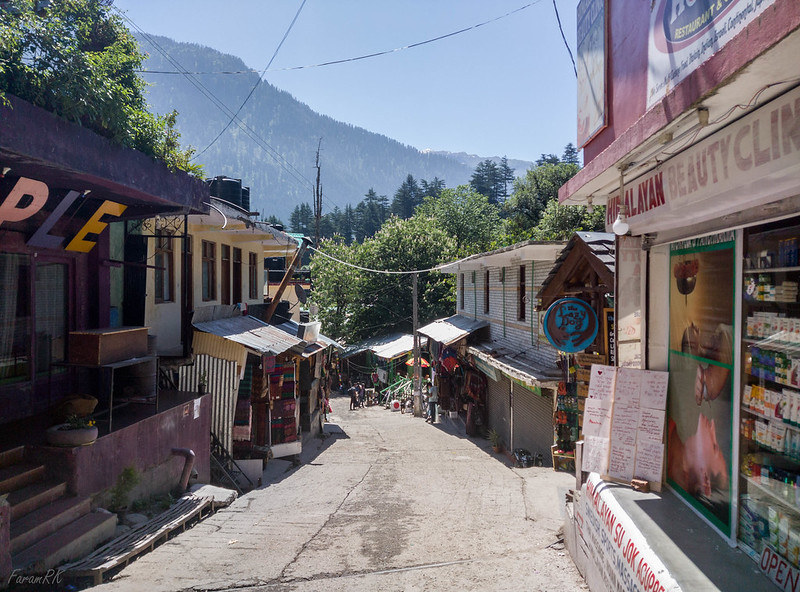
In the afternoon, we had our first group meeting, followed by dinner at night in one of the innumerable cafes dotting Old Manali. Although surrounded by stunning mountain scenery, Manali itself wasn't too pleasant, full of gawking tourists, long traffic jams on narrow roads and diesel and noise pollution.
The next day, we walked to the course organizer's place in Vashist, on the other side of the Beas river valley, for fitting of personal gear which included snow boots, climbing harness and helmet.
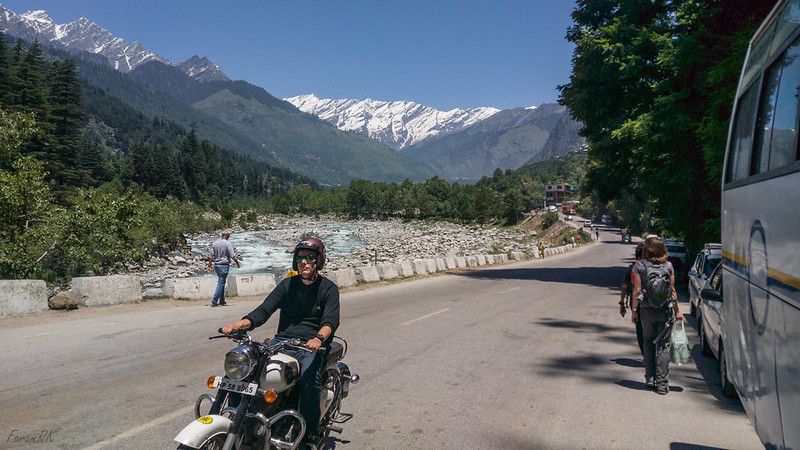
The Approach & initial Training
The next morning, 04 June, we were taken in a jeep north to the trail head at Solang (elevation 8,000 feet). From there we started walking to the first camp site at Dhundi (9,500'), 6 km to the north, along the Beas river.
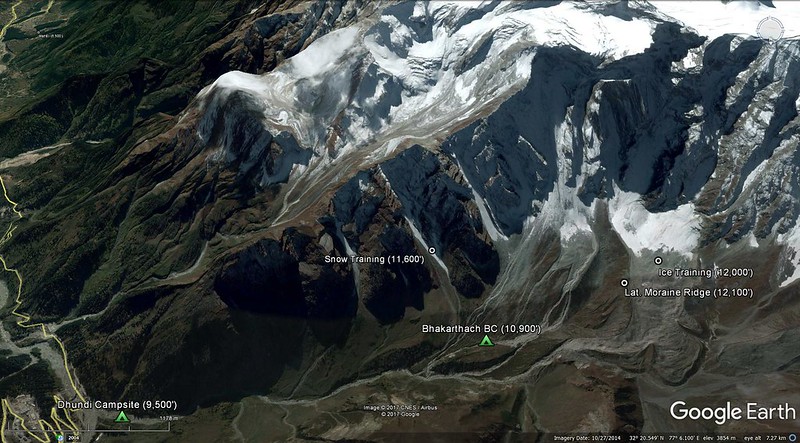

Although I carried my 70 L backpack, it was light, weighing in at 8.8 kg, including 2 L water and 0.5 L tea. The rest of my personal gear including my tent went on ahead in a duffel bag (11.8 kg) on the pack animals.
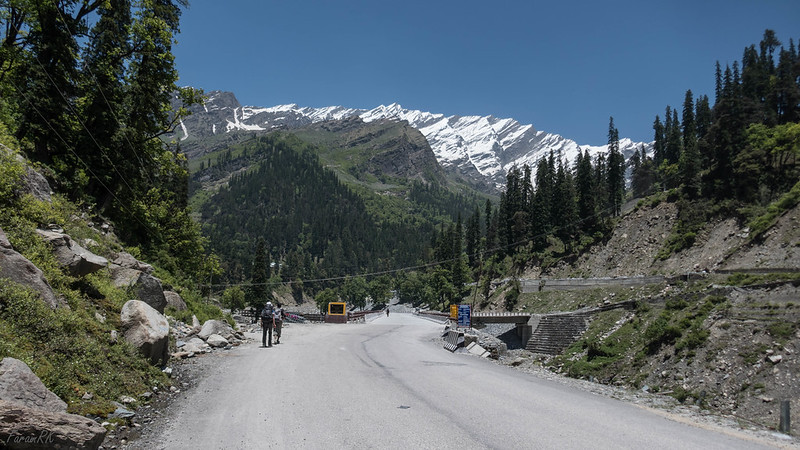
It was an easy hike as almost all of it was on the road servicing the Rohtang tunnel being built further up the valley. Although regular traffic was prohibited on this road, it was quite busy with large trucks huffing along in low gear, taking stuff to and from the tunnel.
Nearing Dhundi, I spotted many large thermalling and landing birds. This is the reason a camera with at least 250 mm equivalent focal length at the long end is required, to be able to capture opportunistic BIF (Bird In Flight) shots.
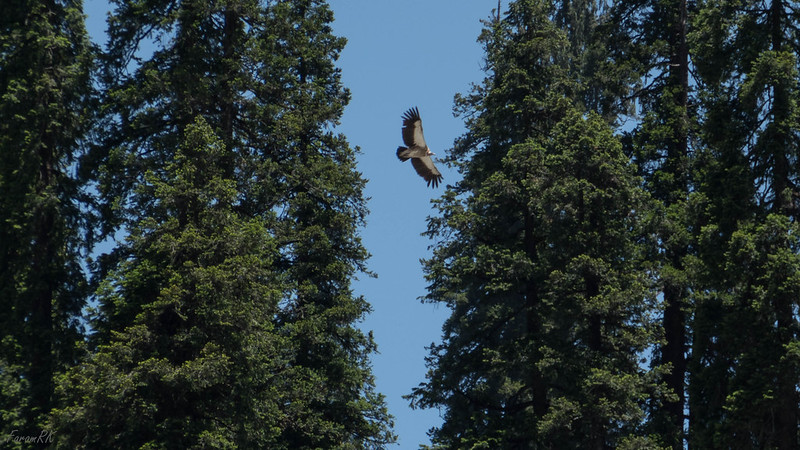
On checking with my birds field guide, they birds seem to be Himalayan Griffon. Please correct me if I'm wrong.
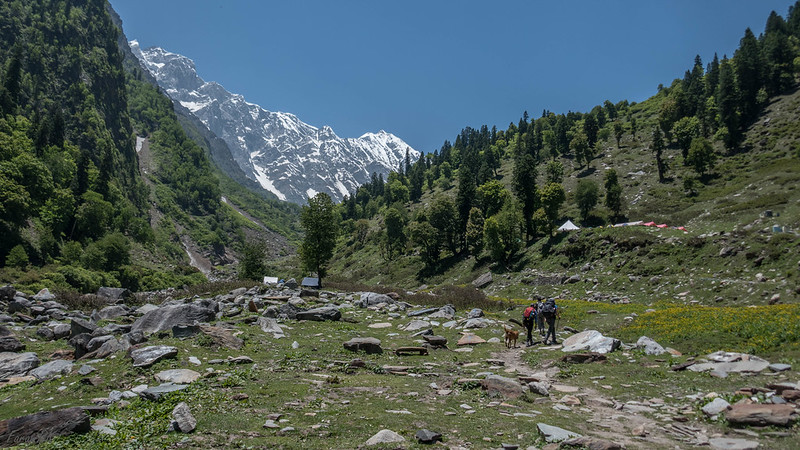
Just before arriving at Dhundi camp site we crossed a rickety threadbare wooden planks bridge across the surging Beas. We completed the hike to Dhundi in 2.5 hours, in time for lunch which had been prepared by our crew, who had gone on ahead of us in the morning.
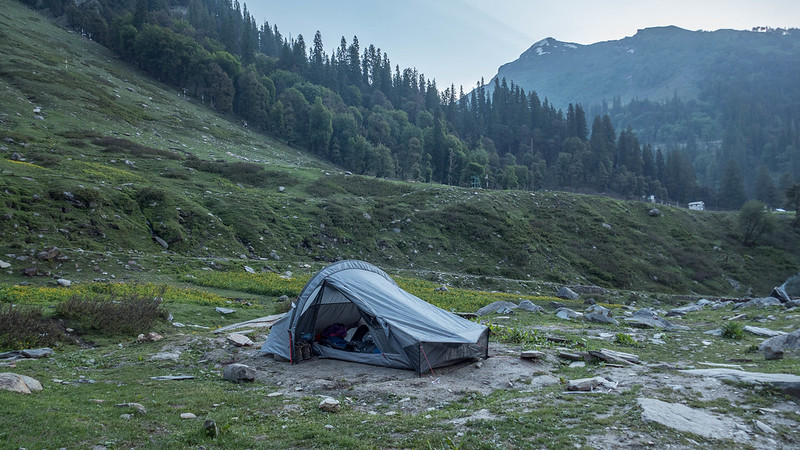
I pitched my tent (on its maiden outing :) and rested for a bit. The camp site was near the true left bank of the frothing Beas.
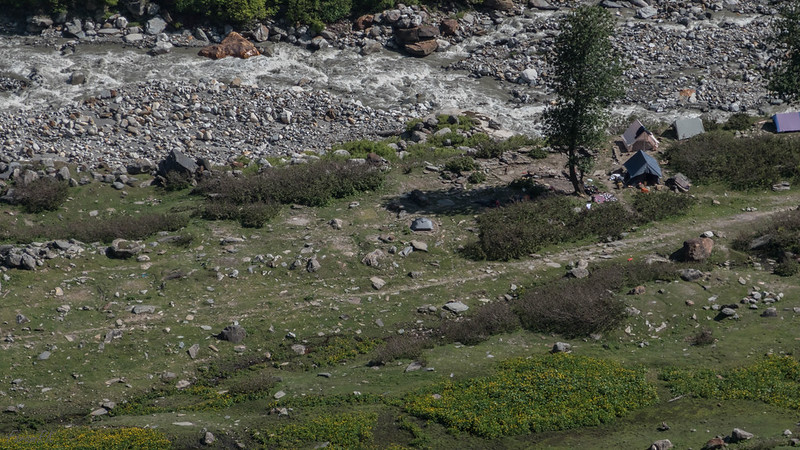
Later a few of us restless types went 500 feet up the hillside for a short height gain walk.
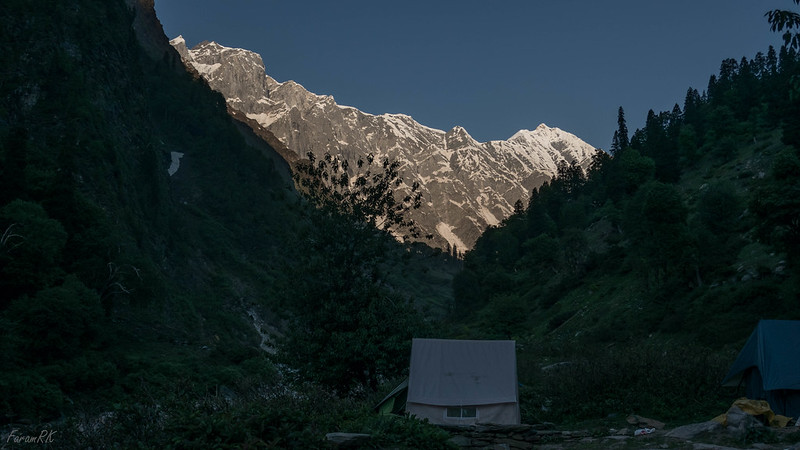
I got up early at sunrise (05:15 am) the next morning, with the sun shining over Hanuman Tibba (19,220'), the highest peak in the vicinity. It was 12 °C inside the tent and 11 °C outside.
After breakfast, we started for the Base Camp at Bhakartach (10,900'), 3.5 km to the west up the Beas valley.
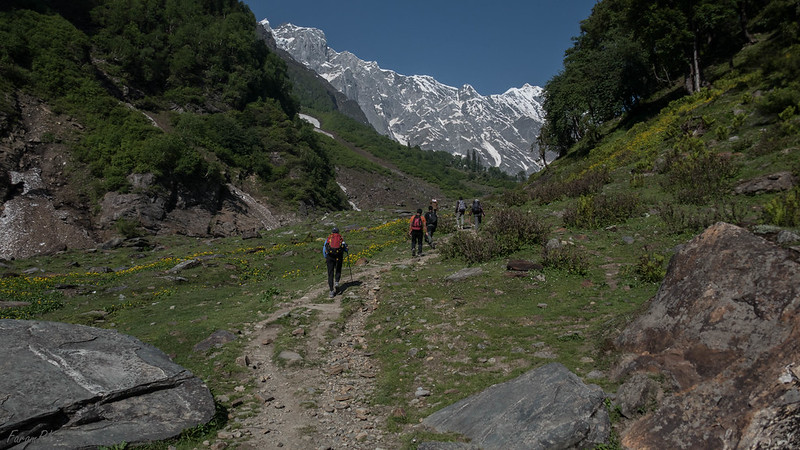
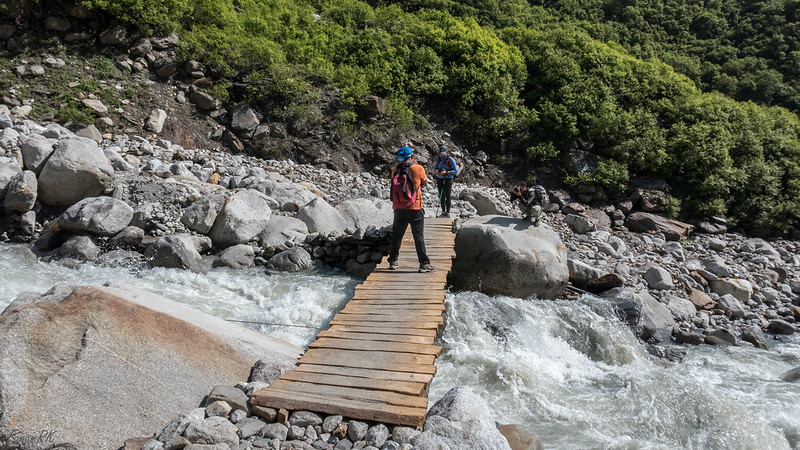
We were travelling along the true left bank of the Beas. On the way we had to boulder hop across a fast flowing mountain stream, one of the innumerable tributaries of the Beas. Later we crossed over to the opposite bank of the Beas over a sturdy wooden planks bridge.
While moving along, the sole of a shoe of one of the group started falling apart. It was patched up using a length of duct tape that I kept wrapped around my trekking pole. It helps to be prepared for these small hiccups.
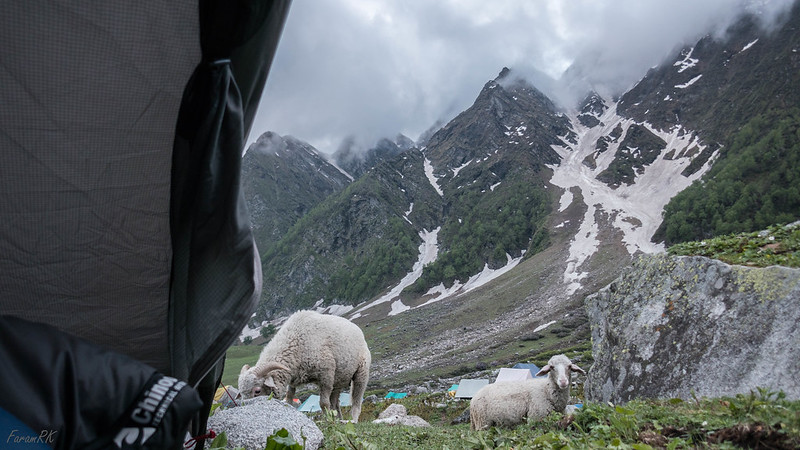
Along the way we passed by a lot of grazing sheep and goats. This was a portent of things to come, although we didn't know it at the time ! Their furry cuteness would wear off pretty soon...
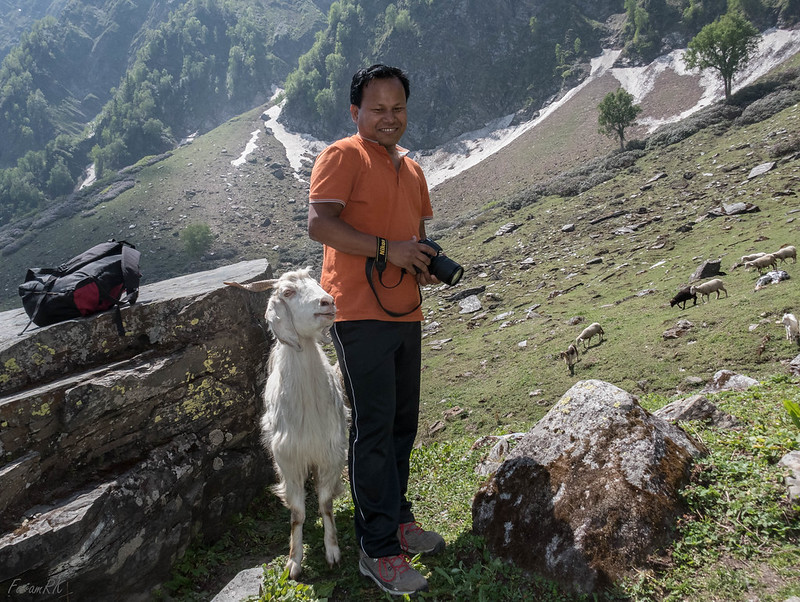
We reached Bhakartach BC (10,900') well before lunch. It was a sunny morning but later in the day there was a slight drizzle.

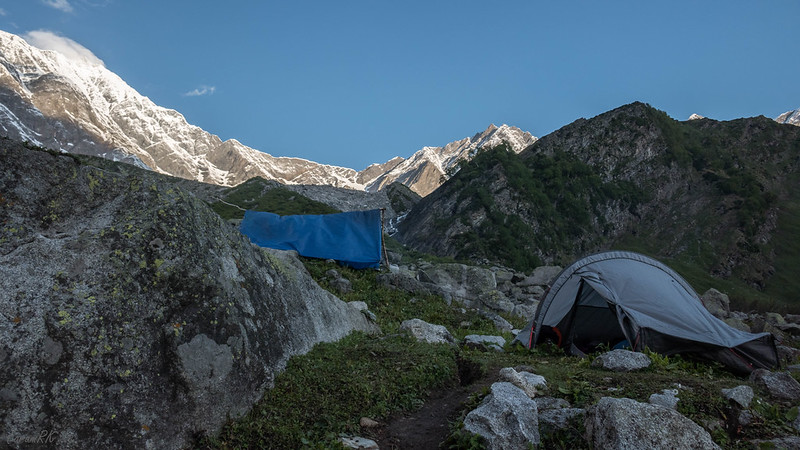
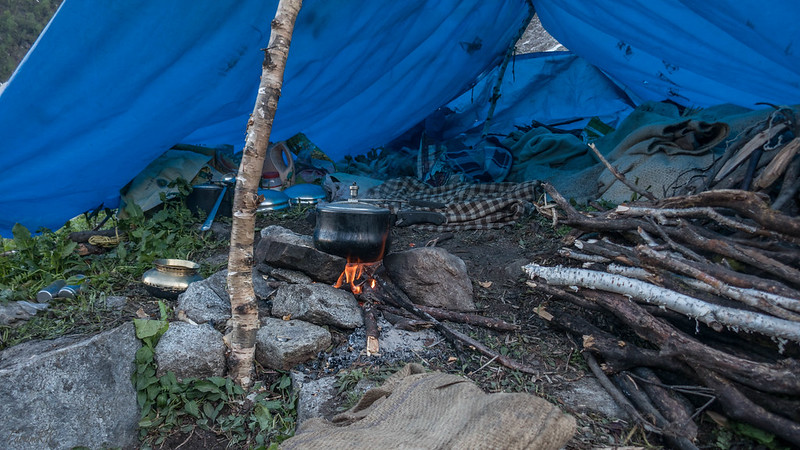
The BC was bang in the centre of a shepherds camp. I think Bhakartach means 'place of the goats', though I'm not totally sure. On inquiring with the shepherds, the animal count was 200 sheep, 80 goats and 2 sheep dogs ! The only suitable spot for pitching my tent was near the shepherds tarp shelter. In hindsight, this was a mistake.
After lunch, we had our first training session. The subject was Knots. Each of us was given a short rope sling and had to practice the basic knots, bends (joining ropes) and hitches (around an object) demonstrated by our उस्ताद , chief instructor Suresh. Some of the knots we learnt were
- Overhand (Thumb) knot,
- Fisherman's bend,
- Figure Eight,
- Bowline,
- Butterfly knot,
- Reef knot,
- Clove hitch
- Girth hitch
Knots need constant practice to allow making them second nature. Some gifted types were able to get the hang of it very quickly while others were fumbling all through the session :)
Later we were issued with personal technical gear which included -
- Climbing harness
- Ice Axe (70 cm)
- Carabiners x2, one of which was a locking carabiner.
- Snow Boots
- Helmet
- Tape Sling
There was a short practice on walking with snow boots and ice axe.
After a satisfying dinner, we were in our respective tents by 20:30. For the duration of our stay, the minimum temperature used to fall to approximately 5 °C outside the tent and 8 °C inside the tent. Wind chill and drizzle usually made it seem colder than it actually was.
A word about infrastructure and staff. Although tents and sleeping gear were provided by the organizer, I carried my own ultralight single hoop tent and sleeping gear. Each of the other participants was provided with a palatial (and heavy) 2-person dome tent or 4-person A-frame tent, the latter being positively bombproof. While entering into my tent was a strictly choreographed affair of what went where in a predefined sequence, the others could pretty well chuck their stuff however they pleased and lounge around in the tent in various positions, on double foam mattresses :)
There was also a kitchen tent, a dining tent, a group gear tent, and two small toilet tents (at the edge of the camp site).
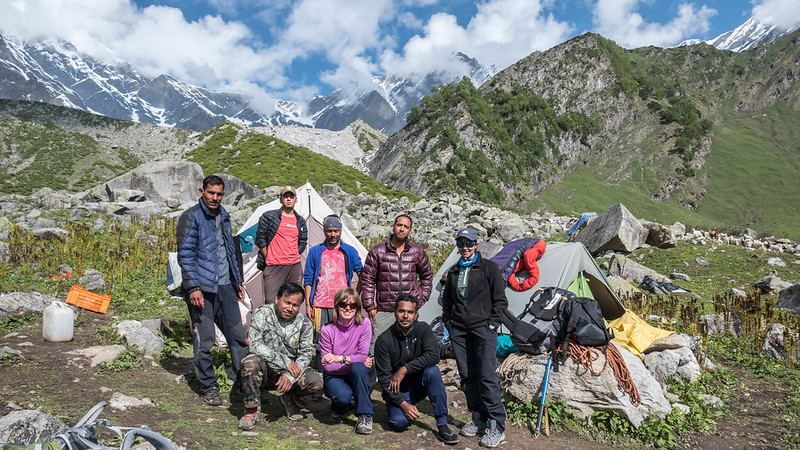
The staff consisted of chief instructor Suresh and assistant instructors Vivek and Devraj with the latter also doubling as the camp in-charge and chef. There was also Tenzing whose main mission seemed to be to keep us well fed and hydrated, in addition to the thankless kitchen work !
Snow Training
The next day, I got up at dawn and after the obligatory ablutions, was all set for the coming day. My digestive system had given up the ghost so I self-medicated on a 5 day antibiotic anti-diarrhea course.
After breakfast, we started at 08:30 for the base of the snow training slope (elevation 11,600'), less than a kilometer away.
The lower slope gradient was about 35 degrees and higher up it increased to 50 - 60 degrees. After reaching the base of the training slope, we put on our snow boots and helmets and stepped on to the snow with ice axe in hand.
We learnt various ways of walking up the slippery snow slope.
- 'Duck walking' with feet splayed apart.
- Side stepping up the slope with the uphill boot edges dug into the slope.
- Side stepping diagonally up the slope then changing direction repeatedly.
- Kicking steps with the toe of the boots and walking straight up. This needs significant calf muscle strength and I was never able to do it, though one of our team was a natural at it.
Higher up, as the slope got steeper, I started to slip a lot as I was unable to side step properly. Wet snow entered my torso, sleeves and gloves each time I fell and I was quite miserable by the end of the session. Once, when I slipped, the axe bounced off the snow and flew out of my hand while I slipped downwards, until grabbed by one of the instructors standing down slope.
Side stepping down the slope was even more torturous than going up. Although this first day's slope training was a shock to my system, there were some in the group who were naturals at the game and easily walked up and down the slope. A sure sense of balance is required for efficiently climbing up and down moderate snow slopes. Either it comes naturally or by growing up in the mountains, or it needs to be obtained by repeated practice.
As summer was progressing, the snow was melting, and at a few places on the slope, we could hear water rushing downhill under the snow.
We arrived back at BC for a late lunch. I was very tired, had a headache and all my joints in pain !
We were stuck in the tents until late evening due to a minor thunderstorm in the afternoon. After dinner at 19:30 it was time to rest and rejuvenate for the next day's labour.
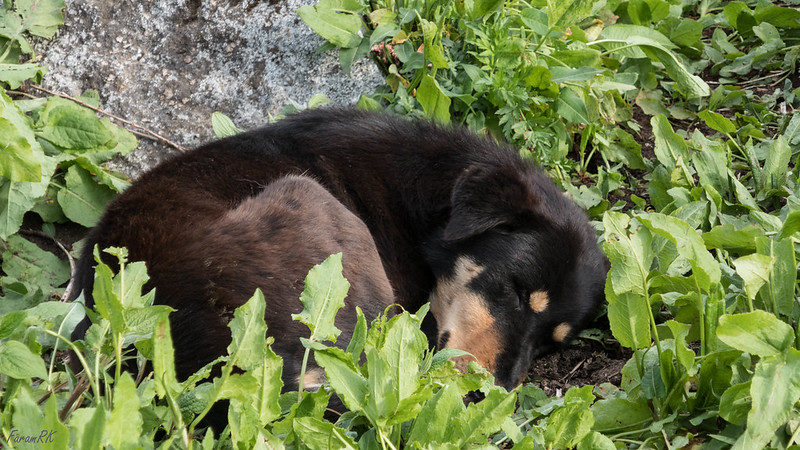
I got up at 05:30, a bit after sunrise, and found that one of the storm guylines of my brand new tent was broken. It had been chewed through. Thinking it must be one of the goats, I told the old shepherd to please keep an eye on my tent and shoo away any errant goats, but to my surprise he said it was one of the sheep dogs that had chewed the guyline !
After breakfast, we started for the training slope at 08:30. We needed to wear waterproofs in addition to helmet and ice axe. On today's curriculum was Self Arrest. These are techniques by which one stops oneself after inadvertently slipping and falling. This is a very important safety technique, because a body gains high speed very quickly when falling on a moderate or steep snow slope. The techniques we learnt were -
- Holding the ice axe in self arrest position i.e. holding it at the top with adze pointing forward.
- Normal self arrest - falling and digging the ice axe pick in the snow, with the axe head at shoulder level and shaft diagonally across the body, to apply maximum force over the pick.
- Arresting after falling head first on the belly. Dig in and pivot around the pick.
- Falling head first, on the back. Dig in and pivot around the pick while simultaneously rolling over on to belly.
- Arresting without ice axe. Dig in the heels and elbows and arch the back.
- Rolling downhill and arresting without axe using elbows and heels. I could do 5 rolls before arresting, while the group record was 8 !
- Somersaulting then arresting without axe. Although demonstrated by the instructor and encouraged to try, there were no takers for the offer :)
The instructors were extremely fit and agile, and always very patient. They used to effortlessly jog, and even run, up and down the slippery slopes, and once even did a flying somersault, landing easily on the feet while on the slope. Superhuman !
Next up on the agenda was Glissading. These are techniques for quickly coming down a snow slope. We learnt -
- Sitting glissade - Sit and slide down the slope using heels for braking and ice axe for braking and steering.
- Crouching glissade - Crouch and slide down the slope using ice axe for braking and steering.
- Standing glissade - Stand and slide down the slope in wide arcs, like skiing. Although demonstrated by the instructor, none of the team were able to do it as it needs fast reflexes, balance and a lot of practice.
Wanting to put the training into practice, I did a sitting glissade all the way down to the bottom of the training slope, and in the bargain shredded the seat of my waterproof pants ! One needs heavy duty mountaineering pants for this activity.
Regular gloves quickly get wet inside along with insides of sleeves, even though waterproof, as the snow gets between the glove and rain jacket sleeves, when performing the types of exercises mentioned above. A useful investment would be to have mountaineering gloves with long gauntlets that can be cinched over the sleeves with enough overlap to prevent snow ingress.
After returning to BC for a late lunch, and a short break, we had another Knots session in which we learnt more knots like the Prusik and French Prusik.
One of my main duties while in camp was to chase away the sheep and goats from my tent. They seemed to have a morbid fascination for biting and tugging at the guylines and chewing and licking the tent fly. Luckily, they didn't rip the tent fly, although they did manage to chew through another guyline. It was enough to bring on a murderous rage to arrive at the tent in the cold drizzling night and find one or more guylines in disarray or bitten through !
One of the things I learnt was to put heavy rocks on the tent pegs to prevent the goats uprooting them and to untie the storm guylines, when not in camp to prevent them being pulled by the animals. Unfortunately, my tent wasn't self supporting so I couldn't untie all the guylines.
The next day we started out at 08:50 for the training slope. This time the packs were heavier at 14 kg as we also carried a snow stake, harness and rope in addition to snow boots and helmet.
First up on the agenda was various forms of Belay. The idea of a belay is to help secure your climbing partner with an anchor and rope such that he can be stopped safely in case of a fall. We learnt -
I found that the small accessory carabiner I used to clip my water bottle to my waist wasn't strong enough to withstand the rough and tumble of climbing and falling. Using a regular carabiner was better. A leash to the bottle strap is also recommended to prevent it falling down the slope when fumbling with it with gloved hands.
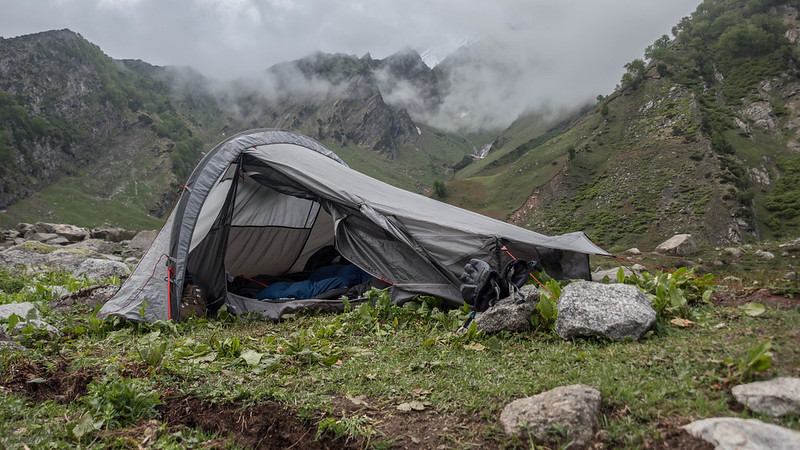
The new tent had enough space in the small side vestibule for 2 pairs of boots, helmet, ice axe, harness, rain gear. It was extremely well ventilated. Although there was condensation on the inside of the fly, there was almost no condensation in the inner tent - worked exactly as designed.
I used the tent in rain and moderate wind but did not use it in below freezing conditions or snow. The tent was bright and cheery inside making it easy to find stuff inside the tent, but on the flip side, due to the greenhouse effect, it got very hot very fast, whenever the sun was out.
I didn't use a groundsheet but the floor didn't get damp even though I didn't move the tent for 7 days at a stretch. The tent needs to be pegged out taut to prevent the fly sagging and touching the inner tent.
- Using a snow stake (a long flat L cross section aluminium stake) as an artificial anchor. It needs to be pounded into the snow almost up to the hilt, at 45° angle away from the direction of pull, and a carabiner clipped to the top hole.
- Hip Belay. The rope goes around the anchor and across the hips of the belayer as he sits abutting the anchor. As the climber climbs, he says 'climbing' and the rope is pulled in to take up the slack. On falling, the climber says 'falling' and the belayer brings the rope sides together to stop the fall. I preferred this belay method, but its disadvantage is that one's bottom gets cold very soon.
- Boot Axe Belay. An ice axe is used as an anchor and the rope passes around it and over one boot of the belayer in a U shaped bight. If the climber falls, the belayer tightens the bight over his boot to stop the fall. I didn't much like this method as one needs to be crouched over in this belay position.
Next, we learnt about roping up and team arrest. To rope up, one wears a climbing harness with a climbing rope attached to a carabiner using one of the hitches learnt during knot training. The carabiner is attached to the harness. All members in a rope team are attached to the same rope and are spread about 10 m apart.
The idea was to walk up the slope (at the speed of the slowest member) as a group. The instructor would motion to one of the members to fall who would shout 'falling'. On hearing this, all other members on the rope had to instantly get into self-arrest positions with the pick of their axes digging into the snow.
While belaying, the rope must be kept nearly taut at all times. If there is too much slack, the falling climber will fall for a longer distance and there will be more force experienced by the belayers.
Another tip that we got was that while taking rest breaks, always face uphill, because that's where the maximum danger lies (falling rocks and such).
The same team arrest rules applied when we walked downhill to the base of the slope, to end the session. One team member slipped and fell for real and shouted 'falling' but most of the others were too knackered to get into self-arrest positions. The next time she fell, she didn't bother shouting and just self-arrested and got up !
Rescue Training
The next day, we were holed up in the dining tent for most of the morning due to rain. During a break in the rain, we went to a nearby 15 feet high, near vertical rock face beside a stream for Rescue training.
Each person was belayed and lowered down the rock face. Then he (the casualty) was hauled up using the Z-pulley technique. This technique gives the ones on top a 3:1 mechanical advantage but it's quite intricate to set up requiring anchors, carabiners, a pulley wheel and jumars.
The next exercise was to rappel down to the base of the rock face then climb up using a Jumar (ascender). Rapelling down was the easy part ! One of the group managed to somehow claw up the face with a herculean effort, but I was unable to get off the base. There was a slight overhang at the base and the rock was a bit slippery due to the drizzle. With my legs perpendicular to the face, I was unable to pull up my body weight while using the jumar (which was attached with a sling to my harness) on the climbing rope.
On a side note, when one of the members was stuck half way up the face, the chief instructor quickly bounded up the face with rope in one hand and gave a quick push with the other hand to help the student. Then with a couple of more bounds, barely touching the rope, he was up and over !
Field Test of the Quickhiker UL2 Tent
My new tent (Decathlon Quickhiker UL2) performed well. It was wide enough to fit one person and backpacks and the vertical side walls helped increase interior space. I found it more comfortable than my previous tent (Vaude Hogan Argon UL) which was a tighter fit due to sloping walls and a tiny vestibule, and suffered from condensation. On the plus side, the Vaude was 500 g lighter.
The new tent had enough space in the small side vestibule for 2 pairs of boots, helmet, ice axe, harness, rain gear. It was extremely well ventilated. Although there was condensation on the inside of the fly, there was almost no condensation in the inner tent - worked exactly as designed.
I used the tent in rain and moderate wind but did not use it in below freezing conditions or snow. The tent was bright and cheery inside making it easy to find stuff inside the tent, but on the flip side, due to the greenhouse effect, it got very hot very fast, whenever the sun was out.
I didn't use a groundsheet but the floor didn't get damp even though I didn't move the tent for 7 days at a stretch. The tent needs to be pegged out taut to prevent the fly sagging and touching the inner tent.
Ice Training
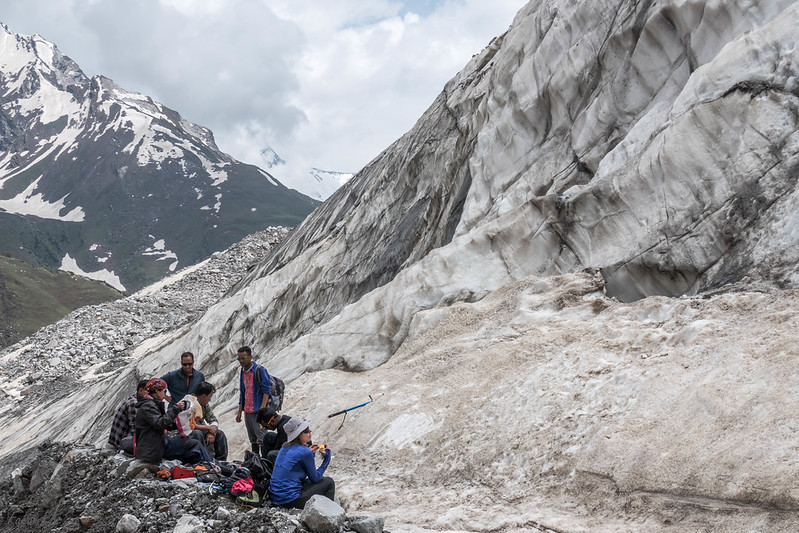
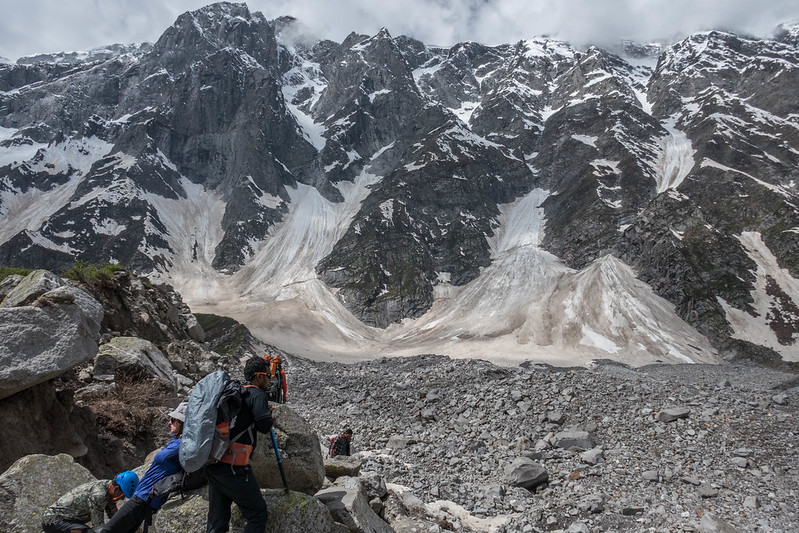
We left the next day at 08:20 for Ice Training on the Beas Kund glacier, 2 km to the west. It was a long trudge up the steep scree slope of the lateral moraine with the crest elevation being 12,100 feet. As usual, that was the easy bit :)
The harder part was moving down the moraine into the glacier. It was full of unstable joint-wrenching large and small rocks interspersed with small patches of slippery snow and ice slopes. I was getting sick of myself having to ask the chief instructor which next boulder to step on, but as always, he was the epitome of patience! I, also, seemed to have developed a phobia of slippery snow patches and would take the long route to avoid them, but it wasn't always possible :)
We finally reached the ice training wall in one part of the glacier, after a 2 hours 40 minutes hike. It was an impressive 25 feet high vertical wall with a slight overhang at the top.
We learnt to put on the crampons by placing them pointing uphill, then stepping into them and tying them up.
The instructors set up ice anchors and belays and demonstrated how to climb the wall. For snow training we had 2 instructors while for ice training, all 3 instructors were in attendance.
We were taught to scale the wall using ice axes and the front points of our crampons. Ice is very different from snow and it is required to positively jab the axes and crampons into the ice to get any purchase. Most of the time, multiple jabs are required. The idea was to dig in the ice axes then using them as a support, move the legs up and dig in the crampon front points, then using them as support, move up the ice axes, and so on. I surprised myself by being able to scale the wall and admire the view from the top.
There wasn't much danger of falling because we were belayed using a rope with sturdy ice screw anchors on the top of the wall. As can be seen in the photo above, almost midway up the wall was a very narrow ledge which we could use to take a breather. It was dubbed the 'Hillary Step' after the famous Mt. Everest feature ! Proper form demanded the legs to be straight but periodically I used to bend them and touch the knees to the wall to give the leg muscles a break. The next part was to climb down the same way we had moved up. Other than a few slips, this was easy. On returning to the base of the wall, blood returned to the hands and they became quite painful, which was assuaged by massaging them.
The next exercise was to scale the wall with a single ice axe. This time I was unable to crest the top as I was quite tired. Ice wall climbing is a full body exercise !
We arrived back at BC at 17:00 for a very late lunch. A very tiring but fulfilling day.
The next day was ice training again and we left at 08:30 following the same route over the moraine to the ice wall. Experience didn't make the hike any easier because this time we knew what was in store on the other side of the moraine ridge !
The agenda for the day was to climb and traverse the ice wall using fixed rope and jumar. The instructors set up a fixed rope on the wall using ice screw anchors. The rope went midway up the wall on the left side, then there was a horizontal traverse to the right then a section going straight up to the crest. There was no belay as the fixed rope was expected to provide the necessary protection.
The jumar was attached to the harness with a sling. There was a safety carabiner on another sling and there was another carabiner on the harness. The sling length was set such that the jumar came up to chin level. The sling should not be too long otherwise it might be impossible to pull up one's body weight to the jumar if one slipped.
To climb with fixed rope, one had to front point with the crampons to get a foothold on the face, then slide the jumar up and hang by it then move the crampons up, and so on. It was harder to perform this motion than it is to describe it ! Also, one had to clip the safety carabiner on to the rope, which would stop a fall at the previous ice anchor, in case the jumar failed.
On reaching an anchor, the jumar was removed from the rope then clipped on to the rope after the anchor, after which, the safety carabiner was similarly moved.
On reaching the horizontal section, a slightly different technique was used. The safety carabiner was moved to the rope after the anchor and clipped to it, then the jumar was removed and stowed in the harness gear loop. The second carabiner on the harness was also clipped on to the fixed rope. Now, one traversed the wall crabbing sideways, front-pointing as one went along while leaning back on the fixed rope.
On reaching the final climb section, the jumar was again reattached to the rope and one climbed as usual using front-pointing and sliding up the jumar. As this was the hardest section, one also shouted a motivational 'Jai Jumar' on each pull !
On reaching the top, an instructor attached a belay rope to the climber who then rappelled down on another climbing rope. To rappel, a belay device is attached to the harness and one increases/decreases the friction between rope and the device to increase/decrease speed of descent. One hangs out on the rope so that the legs are straight and perpendicular to the wall as one walks down the wall , with all crampon points (except the front) in contact with the wall. The feet are kept wide apart to prevent the crampons snagging each other or the rope.
After all the action, the next lesson was benign. We learnt to fix ice screws as anchors on the wall and also to spread the load between a group of screws using slings and hitches. After that, it was back on the infamous moraine route to BC.
Height Gain exercise
The ice training sessions completed the technical training curriculum. The next 3 days would be a height gain exercise in which the team would move from BC to high camp and later attempt to summit nearby Friendship Peak (17,350').
I did not attend this exercise as I was only interested in the technical training, and was quite exhausted by the end of it !
I will add links here when other members of our group write posts about this exercise.
The Weather
Mountain weather is extremely fickle and I'm not exaggerating when I say that it can change in a matter of minutes. It's best to be prepared for all kinds of weather by carrying appropriate clothing in the backpack. One can be sweating when the sun is out and in the next minute, feeling cold when it's hidden behind a cloud. It can be sunny and within minutes a cold drizzle. Also, the wind can shift from no wind to wind blowing uphill then downhill all within the course of a single session.
The Shepherds & their flock
Although their animals with their mania for my tent drove me round the bend, the shepherds themselves were humble and welcoming people. They invited me into their shelter to warm myself around their fire, and offered tea and food, while I got to know about their lifestyle.
They would graze their flock higher and higher up the mountains as the snow receded, right until late autumn. Then they would descend to their villages near Mandi, Himachal Pradesh and farm the land until the next grazing season. There were 3 of them and every month or two months, one of them would return home and be replaced by another one from their village.
They had 150 quintals of provisions that they had brought to the base camp on pack animals. Each day they would load carry parts of the provisions to the next higher camp, until the day came to move permanently to the next camp. Each year they would graze in a different valley. They needed to pay a levy to whichever village owned the valley.
The really young baby goats were put in a pen under a boulder, for their own safety. They were released twice a day during feeding times with their mothers.
The shepherds also had sacks of salt which was spread on the rocks once a day for the sheep and goats to lick.
The 2 sheep dogs were the top dogs of this animal farm. They helped the shepherds herd the flock. They were fed fresh goats milk in addition to their regular broth, to help keep them in top form !
Another of the dogs' duties was to warn of approaching predators, like bears, at night. Most nights the dogs made an infernal noise, barking through out the night. As my tent was next to the shepherds shelter, I was at the receiving end of this noise during most nights. Whenever I used to ask the old shepherd the next morning about the barking, he would say its because the dogs had spotted a bear. I didn't quite buy that. One night, while one of them was barking outside my tent, I opened the flap and had a look, and sure enough the fellow was lying curled up on the ground and letting off growls and barks just for the heck of it, to show his master that he was on duty !
Hygiene
'Civilized' society has left such a strong mark on us that we can't get rid of it even out in the woods. Some participants had brought along sets of clothes for wearing on different days or times of day. Some longed for hair washes and showers !
There were 2 toilet tents, which were small tents placed over catholes. One of the members wanted to enforce that one tent was for women and the other for men. Well, the rest of us believed in gender equality and used whichever tent was free when nature called !
Some hard core types eschewed the use of the toilet tents altogether and did their business out in the glorious open ! I hope they followed proper LNT (Leave No Trace) principles and did their stuff at least 60 m away from any watercourse, trail or campsite, made a proper cathole and later filled it up and marked it.
The Descent
The next day the ones not joining the height gain session, departed BC back to Manali. The staff had arranged with the horseman of a trekking group to carry our duffels on pack horses down to Dhundi. We conveyed our best wishes to the height gain team, said our goodbyes and headed down towards Dhundi.
It's a cliche but we really did 'meet as strangers and left as friends'...
We retraced our steps, crossed the sturdy plank bridge, boulder hopped across the stream, crossed the rickety plank bridge at Dhundi in less than 2 hours after departing BC. Then we waited for 1.5 hours for the pack horses to arrive with our duffels. After that we hitch hiked in the back of a Bolero Camper ute to Manali. That took another 2 hours, due to the long traffic jams after Solang. The driver charged us a ludicrously low amount for the favour, a testament to the non-avaricious mindset that still prevails in sections of the mountain people of that region.
After a quick wash in the hotel at the centre of the raucous Mall road, we had a roast chicken for lunch then went to Kaushal's (the course organizer) place in Vashist for debriefing. He also showed me his paraglider wings and harnesses, as paragliding is another common interest that we shared. We booked a cab to Delhi for the next morning, then retired for another sumptuous dinner in Old Manali. The fact we were so hungry doesn't mean that food was lacking during the course. On the contrary, the food was really good and plentiful, and the various types of omelettes were a big hit. But due to the altitude, or the rigors of the course, we couldn't truly appreciate the fare served by our chef !
Back to the plains
Early next morning, our cab arrived to take us to Chandigarh, Punjab. The driver was very young and seemed to style himself as an F1 driver ! He drove at breakneck speed with the tyres squealing on a few turns. From Manali, we zoomed by Kullu, Aut, Mandi and stopped for breakfast at Sundernagar. We reached the plains of Punjab and Chandigarh in record time. We also heard enough non-stop Bhangra music blasting through the car's speakers to last a lifetime !
At Chandigarh, we changed cabs, had lunch then made the journey to Delhi at a more sedate pace, arriving at our hotel near the airport, a bit before 22:00. After the magnificent natural beauty of the mountains, the unbroken urban sprawl from Chandigarh to Delhi was quite a let down. I'm not against industrialization or a 'save the Earth and animals' type hippie. In fact, I won't be able to live too long in the mountains without intellectual stimulation. But this rampant over population and urbanization doesn't bode well for the future of the country.
Early next morning, each of us boarded our flights back to our respective homes.
Photography
I used the Panasonic ZS100, 1" sensor, 25 - 250 mm equivalent focal length, compact camera to shoot the stills and videos. It ticked most of the boxes of an ideal trekking/climbing camera.
I didn't use the camera while doing the training sessions because I was too busy trying to maintain my balance on the slippery slopes and attempting to take in the technical instructions. Also, I didn't want to risk damaging or losing the camera if it slid down the slope.
I think the perfect combination would have been to use the ZS100 for all shoots except the training sessions, during which a helmet mounted GoPro would have been suitable.
All photos shot during the course are available at this Flickr album - https://www.flickr.com/photos/faramk/sets/72157682322579854
Video
Here's a video of the approach, Base Camp and glacier parts of the course -
Fitness
Physical Fitness
One needs to be moderately fit to take full advantage of the course, especially cardio and endurance training, although strength and flexibility training should not be neglected.
In my case, I jog up the stairs for up to an hour every second day and walk up the stairs with 20 kg pack on the alternate days. On Saturdays, I do an 8 km endurance march with 20 kg pack. I also do some bodyweight exercises for strength and flexibility.
As always, you can never be too fit for the mountains :)
Mental Fitness
Mountaineering (like any endurance activity) needs mental focus, determination and a positive approach, in addition to physical fitness.
Altitude Effects
Altitude affects different persons in different ways. But one proven way to counteract the negative physiological effects of high altitude is to increase sleeping elevation by about 1,000 feet per day, and to take it easy during the initial days. One also needs to try to eat well and stay well hydrated.
One of our group, who was the strongest of the lot and who could easily walk and jog up the slopes since day one, suddenly felt a bit under the weather and disoriented on one of the subsequent days. It could have been due to a touch of AMS (Acute Mountain Sickness) or dehydration. After having a few sports drinks and a day's rest, he was back to normal.
Other Links
One encyclopedic book that is required reading for mountaineers is Mountaineering: Freedom of the Hills.
My backpack items and weights (2017 edition) spreadsheet .
My backpack items and weights (2017 edition) spreadsheet .
I will add other links here as and when other course participants upload their media/posts.
Final Words
This course was very helpful in learning about technical climbing, snow and ice craft and safety. It increased our confidence in tackling seemingly unsurmountable features by using the proper tools and techniques.
It will be of use to high altitude trekkers as also aspiring mountaineers who are unable to attend the month long courses conducted by the various government institutes, due to time or other constraints. Although it cannot instantly make you into an independent mountaineer, it can be the first step towards becoming one.
Jai Jumar !!!


"On today's curriculum was Self Arrest. These are techniques by which one stops oneself after inadvertently slipping and falling. This is a very important safety technique, because a body gains high speed very quickly when falling on a moderate or steep snow slope"
ReplyDeleteHi Faram,
I have not yet read your whole post. Very interesting. My quote above ,from your post, refers to George Mallory who apparently slipped on Mount Everest
Thanks for the comment Peter.
DeleteAs per Wikipedia -
The other significant find made on Mallory's body was a severe, golf-ball size puncture wound in his forehead, which was the likely cause of his death. The unusual puncture wound is consistent with one which might be inflicted by an ice axe, leading some to conclude that, while Mallory was descending in a self-arrest "glissade", sliding down a slope while dragging his ice axe in the snow to control the speed of his descent, his ice axe may have struck a rock and bounced off, striking him fatally.
nice
ReplyDeleteBeing a trekker, its important to know about mountains and mountaineering. The information you shared is essential for every trekker thank you for sharing.
ReplyDeleteGlad that you found the post useful.
Delete